Monthly Archives: April 2013

Honey Lemon Bars

Standard
Honey Lemon Bars

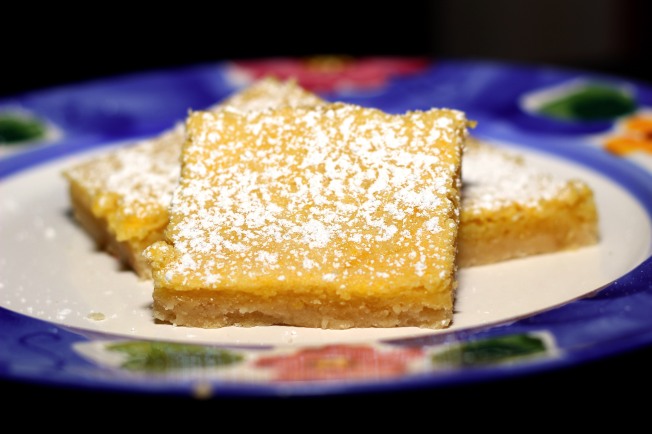
I’m a huge fan of anything lemon when it comes to baking.  These are amazing, and super simple to put together.  The honey adds just the right amount of sweetness without being overpowering.  A perfectly light, warm-weather dessert 🙂

honey lemon bars


The Recipe:

Dough:

1 cup all-purpose flour

2 tablespoons sugar

1/2 cup (1 stick) butter, cold

Filling:

2 large eggs

1/4 cup honey

3 tablespoons lemon juice

1 teaspoon lemon zest (my addition, but a little more lemon flavor never hurts in my opinion!!)

2 tablespoons flour

1/2 teaspoon baking powder

The Process:

1.  Heat oven to 350 F (325 F if using glass or dark metal pans)

2.  To make the dough, place the flour and the sugar in a mixing bowl and stir to combine.

3.  Cut the cold butter into small chunks and add to the flour mixture.  Using your hands, rub the butter into the flour mixture until all the butter disappears and the dough starts to hold together a bit.

4.  Place the dough in an 8″x8″ baking pan and press into the bottom in an even layer.

5.  Place in oven for approximately 10-12 minutes to bake.

6.  While the crust is baking, prepare the filling.  Break the eggs into a mixing bowl and add the honey and lemon juice.  Whisk together until completely blended.  Add the flour and baking powder and whisk again until smooth.

7.  Remove crust from the oven and pour the lemon filling into the pan.

8.  Bake for 20-25 minutes.  The filling should not move when you slightly shake the pan.  If it does, place back in the oven for another 5 minutes.

9.  Transfer to a cooling rack and allow 10 minutes for cooling before cutting into squares.  Sprinkle with powdered sugar and enjoy the lemony goodness!
Apple Almond Tea Cake

Standard
Apple Almond Tea Cake

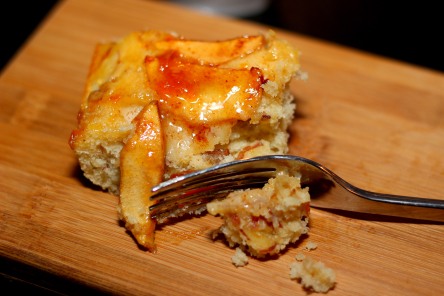
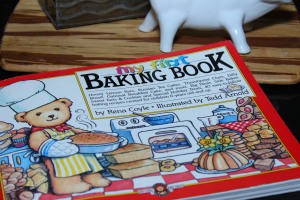
I couldn’t wait to get cracking in the kitchen after receiving the new book (My First Baking Book).  So here’s the first round…Apple Almond Tea Cake.  Super good.  Nice dense cake with just a touch of sweetness.  Love the flavor (and slight crunch) from the sliced almonds in the cake, and the apples on top pair perfectly of course.  Top it all off with an apricot glaze, and you have the perfect brunch (or breakfast…or dessert…) snack!

apple almond tea cake

The Recipe:

1/2 cup (1 stick) butter, at room temperature (plus extra for buttering the pan)

2 cups all-purpose flour

1 1/2 teaspoons baking powder

1/2 teaspoon nutmeg

1/2 cup granulated sugar

2 large eggs

1 cup milk

1 cup sliced almonds

2 medium apples

1/2 tablespoon brown sugar

1/2 teaspoon cinnamon

Glaze:

3 tablespoons apricot jam

1 tablespoon water

The Process:

1.  Preheat the oven to 350 F (325 F if using a glass or dark pan).

2.  Grease the bottom and sides of a 9×13 baking pan.

3.  Put the flour, baking powder and nutmeg in a bowl and stir to combine.

4.  Place the 1/2 cup of butter and the granulated sugar in the mixing bowl and beat at medium speed until light and fluffy (around 4 minutes).

5.  Break the eggs into the bowl and beat again until blended.

6.  Add the flour mixture and mix at low speed until smooth.

7.  Pour in the milk and mix again.

8.  Stir the sliced almonds into the batter until combined.

9.  Pour the batter into the greased 9×13 baking pan and spread evenly.

10.  Peel and core the apples.  Cut in half and then cut the halves into thin, even slices.

11.  Here’s where I took a detour from the original recipe…I placed the apple slices in a bowl and tossed them with a squeeze of lemon, the brown sugar and cinnamon.  The original recipe has you place the apples on top of the batter and then sprinkle the sugar/cinnamon mixture over.  I wanted a more “even” coating, but you can choose your method 🙂

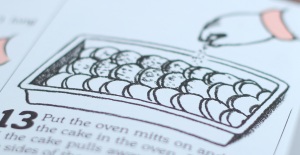
12.  Place the apple slices in 3 long lines, overlapping, on top of the batter down the length of the pan (makes for easier cutting this way).

IMG_3025

13.  Place in oven and bake until the cake pulls away slightly from the sides of the pan and a cake tester comes out clean, approximately 50 minutes (Again, with my oven it was close to 35 minutes, so I would check yours frequently after 35).

14.  Remove from oven and while cake is cooling prepare the apricot glaze.

15.  Place the jam in a saucepan and add the water, stir over medium heat until the jam melts and begins to bubble.

16.  Using a pastry brush (or spoon), spread the glaze over the top of the cake.  Cut into squares and marvel in the apple-y goodness!

Desert Botanical Gardens & Butterflies!

Standard

We took a quick trip to the Desert Botanical Gardens to catch the butterfly exhibit before it ended.  If you live in Phoenix and haven’t been, I highly recommend it.  My daughter was in complete awe watching the butterflies all around her.  Fun to see it through their eyes.  It always amazes me how colorful the desert is in Spring.  Happy Earth Day!

desert botanical gardens phoenix photography IMG_3038 copy IMG_3045 copy IMG_3049 copy IMG_3053 copy IMG_3056 copy IMG_3072 IMG_3086 copy

Copyright 2013 Pam Kilyk

Breakfast Sausage Pockets

Standard

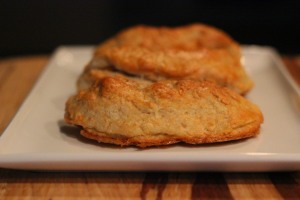
I’m not going to lie, I’m not sure I would ever make these again.  Might partially be me though, I’m not a huge fan of that much bread for breakfast (how un-American of me, I know 😉 )  The dough almost tastes biscuit-like, so it’s a nice compliment to the sausage.  I would say they might take on a new life if some herbs like rosemary or thyme were added to the dough.  So maybe there will be a round 2 after all…

breakfast sausage pockets

The Recipe (makes 8 sausage pockets):

2 cups all-purpose flour (plus 1/2 cup for rolling)

2 1/2 teaspoons baking powder

1 teaspoon salt

4 tablespoons butter (the original recipe calls for room temperature, I always find i prefer to work with cold butter in a dough to up the flakiness factor)

2/3 cup milk

2 ounces cheddar cheese, grated

1 egg

1 tablespoon water

8 breakfast sausage links (the recipe doesn’t state whether you need to use fully cooked, I erred on the side of caution and did)

The Process:

1.  Preheat the oven to 400 F

2.  Place 2 cups of flour, the baking powder, and the salt in a large mixing bowl and stir to combine.

3.  Add the butter (if using cold, cut into small pieces to make it easier to mix in).  Using your fingers (again, why I love this cookbook 😉 ) rub the butter into the dough until it disappears.  The mixture will appear somewhat lumpy.

4.  Add the milk and stir until the dough is thick and blended.

5.  Sprinkle some flour on a clean work surface.  Scoop out the dough from the bowl and place on floured work surface.  Sprinkle top of dough with a  little more flour.  Using a rolling pin, roll the dough until it is about 1/4″ thick.

6.  Using a 4″-6″ biscuit cutter (or wide mouth glass if you don’t have one), cut as many circles as you can out of the dough.  Flatten the scraps and re-roll to make the remaining dough circles.  You should have 8 total in the end.

7.  Break the egg into the bowl and add the 1 tablespoon of water.  Gently beat with a fork to combine.

8.  Place 1 breakfast sausage link in the center of each circle and sprinkle a little cheese over top.  Fold the dough circle over the sausage and press the edges together to seal.

9.  Place the sausage pockets on a cookie sheet.  Brush the tops with the egg wash.  Place cookie sheet in the oven and bake for 25 minutes (I found I only needed 20 minutes, but you know my oven issues…)

10.  When the tops are golden brown, remove pockets and allow to cool for 10 minutes before serving.

I’m so excited…

Standard

And I just can’t hide it…Ok, enough of that.  I am pretty excited today though – look what came in the mail!

My first baking book

I was doing some digging on the interwebs to see if the author of the My First Cookbook was still writing.  And although she’s not (or that I could find anyway), I did discover that she made a second book called My First Baking Book a few years later.  I skimmed through the recipes and they sound just as amazing (if not more!)  So now my quest carries on!  I don’t know if I can wait till the end of the year to finish the other one and then start on this one, so there might be a smattering of both all year 🙂  Can you sense my excitement?!?

Cheers everyone!

Dreamy Hot Chocolate

Standard

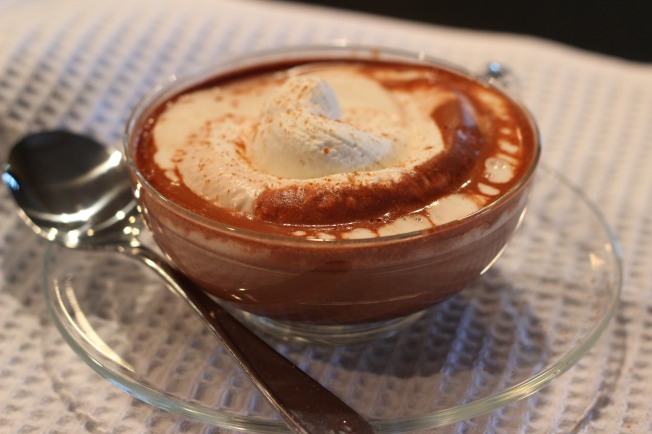
Hot chocolate can’t be beat – no matter what the temperature is outside.  I’ll admit, I’m not one for making it from scratch too often (the convenience of those little packages calls to me…).  This recipe is super simple and the method is pretty smart.  The touch of honey and cinnamon make it extra tasty.  Will definitely be making this often!  Warm and fuzzy thoughts to all! 🙂

hot chocolate cinnamon

The Recipe (makes 4 cups):

6 teaspoons unsweetened cocoa powder

8 teaspoons sugar

2 teaspoons honey

4 cups milk

The Process:

1.  Measure 1-1/2 teaspoons cocoa powder, 2 teaspoons sugar, and 1/2 teaspoon honey into 4 individual mugs.  Stir with a spoon to make a paste.  Add 1 tablespoon milk into each mug and stir until dissolved.

2.  Pour the milk into a saucepan and heat over medium heat until the milk begins to steam and you can see tiny bubbles form at the sides of the pan.  Remove from heat.

3.  Ladle the warm milk into the mugs (about 1 cup each) and stir.  Serve with a dollop of freshly whipped cream and a sprinkling of cinnamon.

Apple Spritzer

Standard

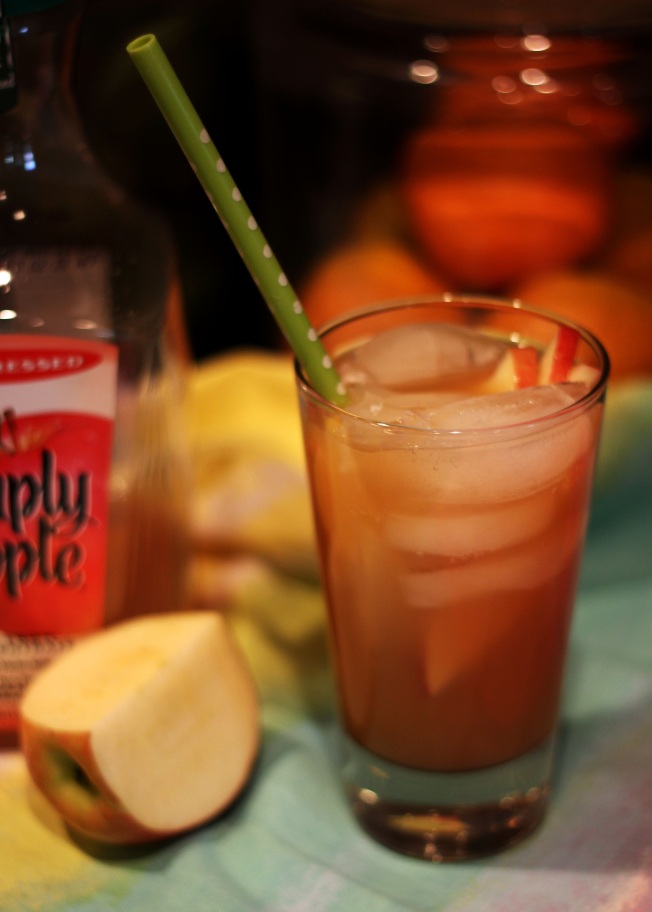
I live in the Southwest – it’s in the upper 80’s already (and has been for weeks, sigh…)  So while most of you are still shoveling your driveway, we’re trying to find ways to stay cool.  And a bubbly, ice cold drink on  a hot day is never a bad thing.

Apple spritzer

The Recipe (makes 4 drinks):

1 small apple

Ice cubes

4 cups apple juice

2 cups club soda or seltzer water

The Process:

1.  Rinse the apples, core and cut into slices.

2.  Place several ice cubes in each glass.  Pour 1 cup of apple juice and 1/2 cup soda water into each glass.

3.  Garnish with apple slices, sip, and ahhh… 🙂

Fruit Skewers (Fruit on a Stick) with Yogurt-Coconut Dip

Standard
Fruit Skewers (Fruit on a Stick) with Yogurt-Coconut Dip

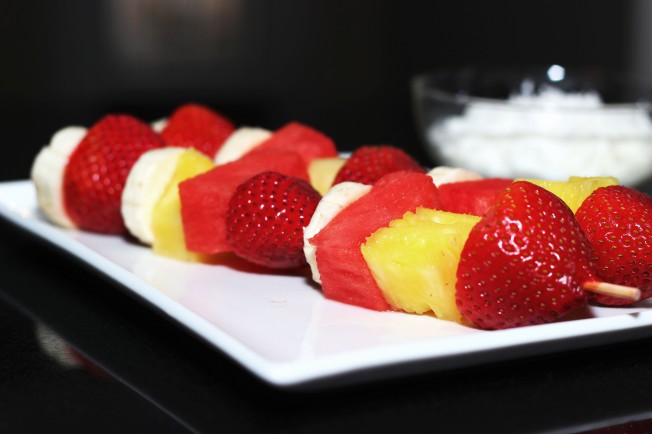
Everything is more fun on a stick – it’s true, you know it.  This makes a great after-school snack, or even breakfast.  The dip is killer, who would have thought something as simple as combining yogurt and a little coconut could make fruit even more magical?

Fruit skewer fruit on a stick

The Recipe (I’m listing the original suggestions from the book, use whatever you have on hand to create your skewers!  I ended up using my kid’s favorites – strawberries, watermelon, pineapple and banana):

2 apples

1 banana

10 grapes

10 strawberries

2 tangerines

1 cup flavored yogurt of your choice

1/4 cup shredded coconut

The Process:

1.  Rinse, peel (if necessary), and dry all fruit.

2.  Cut all fruit into medium sized chunks.

3.  Push cut fruit pieces onto wooded skewers.

4.  Pour the yogurt into a small bowl and add coconut.  Stir until incorporated.  Serve alongside fruit skewers or pour a little over each skewer before serving.