Category Archives: Uncategorized

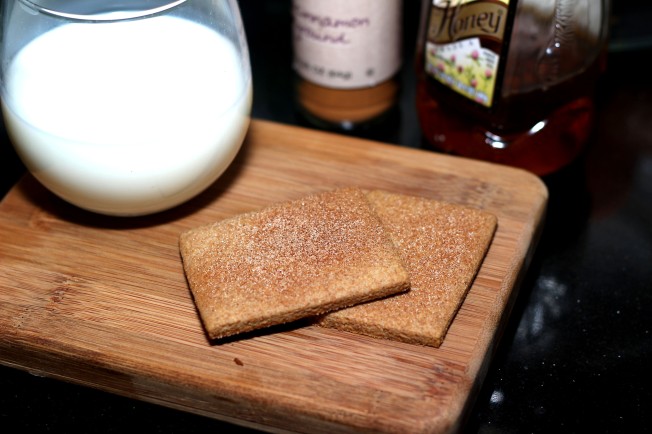
Honey Cinnamon Graham Crackers

Standard
Honey Cinnamon Graham Crackers

I grew up on tea with milk accompanied by graham crackers slathered with butter.  My husband thinks I’m weird.  But he puts maple syrup on perogies…so, yeah…who’s the weirdo now? 🙂

I never actually considered the idea of making a homemade graham cracker, Nabisco seems to have a clever market on that.  But I though, hey, why not?  And bonus, I had planned to make some interesting looking Mini Cheesecakes from the book, and I could use these graham crackers for the crust!

These definitely didn’t have the amazing crunch factor I was used to, but the flavor was really similar.  My kid inhaled them without a second thought, so that’s a good sign right?  Maybe if we had let them sit a little longer the crunch would have taken effect?  Hmmm…note to self…don’t let the kid eat all the graham crackers at once…

honey cinnamon graham crackers

The Recipe (makes 24 crackers):

3 tablespoons sugar

1 teaspoon ground cinnamon

1 1/2 cups whole wheat flour (plus 1/2 cup for rolling)

1/2 teaspoon baking soda

1/4 cup (1/2 stick) butter at room temperature

1/4 cup honey

1/2 cup heavy cream

The Process:

1.  Preheat the oven to 350 F and place an oven rack in the center of the oven.

2.  Mix 1 tablespoon sugar and 1/2 teaspoon cinnamon in a small mixing bowl and set aside.

3.  Put 1 1/2 cups flour, the baking powder, and remaining 1/2 teaspoon cinnamon in a medium bowl and stir together.

4.  Put the honey, and remaining 2 tablespoons sugar in the mixing bowl.  Beat on medium speed until smooth and creamy.

5.  Add the flour mixture, half at a time to the mixing bowl and mix on low speed until blended after each addition.

6.  Pour in the cream and mix until dough is smooth.

7.  Sprinkle some of the flour on a clean work surface and turn the dough out of the bowl.  Sprinkle some additional flour on top and spread the dough with your hands.

8.  Roll the dough about a 1/4″ thick.

9.  Using a knife (or pasty cutter, or pizza wheel), cut the dough into 2 1/2″ squares.  Use a spatula to transfer the dough squares onto a cookie sheet.

10.  Bake for 10 minutes.  Remove from the oven and sprinkle with the cinnamon sugar mixture.  Allow to cool (unless you have a toddler nagging you, then the cooling step is optional) before inhaling. 🙂

Apple Spritzer

Standard

I live in the Southwest – it’s in the upper 80’s already (and has been for weeks, sigh…)  So while most of you are still shoveling your driveway, we’re trying to find ways to stay cool.  And a bubbly, ice cold drink on  a hot day is never a bad thing.

Apple spritzer

The Recipe (makes 4 drinks):

1 small apple

Ice cubes

4 cups apple juice

2 cups club soda or seltzer water

The Process:

1.  Rinse the apples, core and cut into slices.

2.  Place several ice cubes in each glass.  Pour 1 cup of apple juice and 1/2 cup soda water into each glass.

3.  Garnish with apple slices, sip, and ahhh… 🙂

Fruit Skewers (Fruit on a Stick) with Yogurt-Coconut Dip

Standard
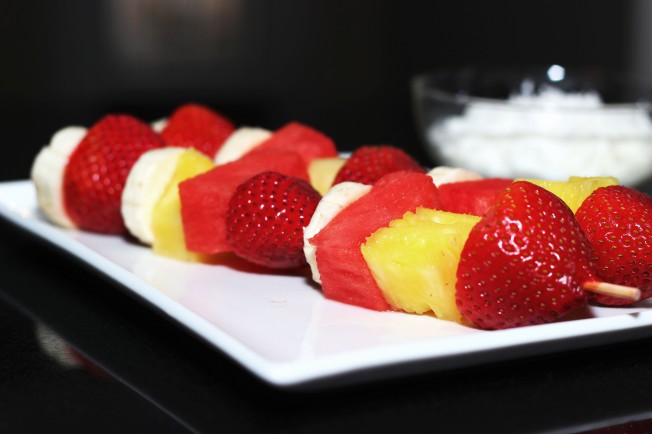
Fruit Skewers (Fruit on a Stick) with Yogurt-Coconut Dip

Everything is more fun on a stick – it’s true, you know it.  This makes a great after-school snack, or even breakfast.  The dip is killer, who would have thought something as simple as combining yogurt and a little coconut could make fruit even more magical?

Fruit skewer fruit on a stick

The Recipe (I’m listing the original suggestions from the book, use whatever you have on hand to create your skewers!  I ended up using my kid’s favorites – strawberries, watermelon, pineapple and banana):

2 apples

1 banana

10 grapes

10 strawberries

2 tangerines

1 cup flavored yogurt of your choice

1/4 cup shredded coconut

The Process:

1.  Rinse, peel (if necessary), and dry all fruit.

2.  Cut all fruit into medium sized chunks.

3.  Push cut fruit pieces onto wooded skewers.

4.  Pour the yogurt into a small bowl and add coconut.  Stir until incorporated.  Serve alongside fruit skewers or pour a little over each skewer before serving.

(Not quite) Teddy Bear Chocolate Chip Cookies

Standard
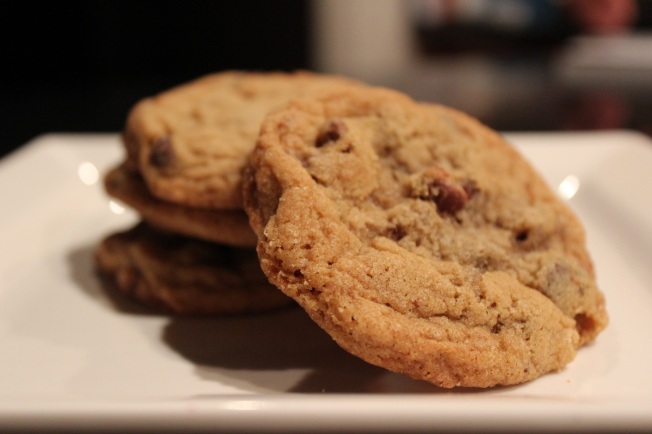
(Not quite) Teddy Bear Chocolate Chip Cookies

I take pride in my chocolate chip cookies.  I have a tried and true recipe I’ve been using for years and have “perfected”.  But, I’m allowing this blogging experience to take me out of my culinary box, so I gave this recipe a go.  Plus, I thought my kid would get a kick out of teddy bear shaped cookies, and I figured, how hard could that be?  Man was I wrong… the day will go down in history as the “Amorphous Blob Cookie Disaster of 2013”.  I dried my chocolate stained tears and sheepishly reached for my cookie dough scoop.

The flavor of the cookie is actually really good.  Definitely a more crisp, versus chewy cookie.  Worth a try in my opinion – and maybe you’ll have better luck with attempting a shape (and if you do have success and would like to rub salt into my wound and post it here, I’ll understand…)  Good news is, a chocolate chip cookie is never a bad thing to have around, no matter what it looks like!

chocolate chip cookie

The Recipe:

2 1/2 cups all-purpose flour

1/2 teaspoon baking soda

1 cup (2 sticks) butter, at room temperature

1/4 cup vegetable shortening

1/2 cup granulated sugar

1/3 cup packed dark brown sugar

1 egg

1 teaspoon vanilla

2 cups semisweet chocolate chips

1 cup chopped walnuts (optional)

The Process:

1.  Preheat oven to 350 F.

2.  Place the flour and baking soda in a bowl and mix.

3.  Place the butter, shortening, and sugars in a separate mixing bowl and beat for 2 minutes until combined.  Scrape the sides of the bowl and continue to mix for another 2 minutes until light and fluffy.

4.  Break the egg into the bowl and add the vanilla.  Mix at medium speed for about 1 minute.

5.  Add about half the flour mixture and blend at low speed until incorporated.  Add the remaining flour mixture and mix until well blended.

6.  Add the chocolate chips and walnuts and mix at lowest speed until evenly distributed in the batter.

7.  Attempt to make teddy bear shapes… or give up and spoon tablespoons of dough onto a cookie sheet.

8.  Bake at 350 F for about 10-12 minutes or until edges begin to turn golden brown.

9.  Remove and let cool slightly before transferring to a cooling rack.

Banana (Chocolate) Walnut Bread

Standard

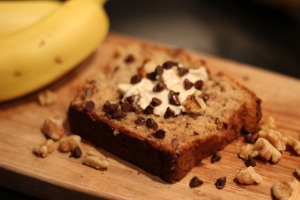
I think everyone should bake a loaf of this bread right now, just so your house smells as good as mine! 🙂 Great texture and flavor – I have to say, I’m really sorry I’ve never tried all these yummy recipes before!  So far, they have all been amazingly good.  I did add some chocolate chips to my version, because, why not?!?

na Chocolate Walnut Bread

The Recipe (makes 1 loaf):

1/2 cup (1 stick) butter, at room temperature

2 cups all-purpose flour

3/4 teaspoon baking soda

1/2 teaspoon salt

3/4 cup sugar

2 eggs

3 very ripe bananas

2 tablespoons sour cream

1 cup chopped walnuts

1/2 cup chocolate chips (optional)

Cinnamon Cream Cheese for serving (recipe follows)

The Process:

1.  Preheat the oven to 350 F.

2.  Grease the bottom and sides of a 4×8 loaf pan with butter.

3.  Mix the flour, baking soda, and salt in a bowl.

4.  Place the butter and sugar in your mixing bowl and beat with mixer until light and fluffy.

5.  Break the eggs into the bowl and beat until completely blended with butter mixture.

6.  Add the flour mixture and beat until smooth.

7.  Peel the bananas and break into small chunks.  Add the bananas, sour cream, walnuts, and chocolate chips.  Blend at low speed until combined.

8.  Pour the batter into the buttered loaf pan and smooth out the top with a rubber spatula.

9.  Bake for 1 hour 10 minutes (I found this was spot on).

10.  Remove from oven and let cool for 15 minutes (yeah right).  Turn the pan upside down to allow the loaf to fall out.  Place loaf right side up and let cool another 15 minutes (sure…) before slicing.

This bread was great on its own, but even better with some Cinnamon Cream Cheese.

Cinnamon Cream Cheese

I package softened cream cheese

1 teaspoon cinnamon (or more to taste)

2-3 teaspoons brown sugar

Let’s just start with my favorite – for science, right?

Standard
Let’s just start with my favorite – for science, right?

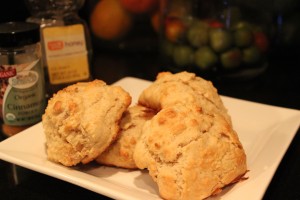
I can vividly remember making these Cinnamon Honey Scones in my grandmother’s kitchen when I was a kid.  The best part of the recipe to a 30-something year old – oops I mean 10 year old?  You get to squish the butter into the flour by hand.

Cinnamon Honey Scone

The Recipe:

1 -3/4 cups all-purpose flour

1- 1/2 teaspoons baking powder

1/4 teaspoon cinnamon (I usually do close to 1/2)

6 tablespoons butter (the recipe calls for the butter to be room temp. but I’ve found that cold butter makes for a fluffier, crispier end result)

1 tablespoon honey (I do closer to 2 for a little more added sweetness)

1/2 cup milk (or more as needed)

1 egg

The Process:

1.  Heat the oven to 400 F.

2.  Line a cookie sheet with parchment or a silpat.

3.  Stir the flour, baking powder, and cinnamon together in a bowl.

4.  Add the cold butter to the flour mixture and work with your hands (he he!)  until the butter somewhat crumbles.

5.  Add the honey, milk and egg. Stir until well incorporated.

6.  Using a spoon, drop the dough by spoonfuls onto the cookie sheet.  Leave a little room between the scones.

7.  Place in oven for 12-15 minutes or until slightly golden on top.

8.  Remove from oven (the book is good at reminding you to use your oven mitts, but we’re  all adults here, right?) and let stand a couple minutes before serving.

Serve warm with butter and lots of extra honey for smothering.  Tea party it up people!

And so it begins…

Standard

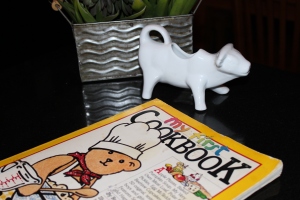
I’ve had this cookbook for years (I won’t say exactly how many, because, well, it’s my right as an aging human female).  I think I was around 10 when it appeared and I’ve been carrying it around and casually cooking from it since then.  For all you kids interested, the author is Rena Coyle.   I have 1 favorite recipe and as I flipped through the book tonight searching for those magical honey scones, I realized there were a lot of really yummy sounding recipes.

So here I am, on a giddy cooking journey through my childhood for the rest of the year.  I’ll make every recipe – the good, the bad, and the ugly. Wish me luck, I’m going to need it!

My Frist Cookbook